Getting Started
Repeat all strokes 3-5x each.
1. To begin, it is important to begin the gua sha routine by opening up the lymphatic system. First, take the groove end of the gua sha tool and begin at the base of the back of the neck: you want your spine to be in center with the groove. From there you will glide the tool in upwards motions, stopping at the base of your skull. Next, you will take the textured side of the gua sha tool & proceed in upwards motions, starting at the collarbone and up towards the chin. You will repeat this process on both sides, lightly gliding the stone with minimal pressure. You can return to the groove end when going over the middle of the throat but in an upward motion-it is key to maintain light pressure when doing so.
2. Starting at the base of your neck, slide the textured side of the gua sha tool and guide the tool in upward strokes toward your chin, using light pressure at a 30-45 degree angle. Repeat this movement on all sides of your neck - including the back of the neck for additional tension relief. The back of the neck can handle more firm pressure.
3. From the base of your chin, take the small, flat edge of the gua sha tool and glide in an upward and outward motion towards the center of your ear.
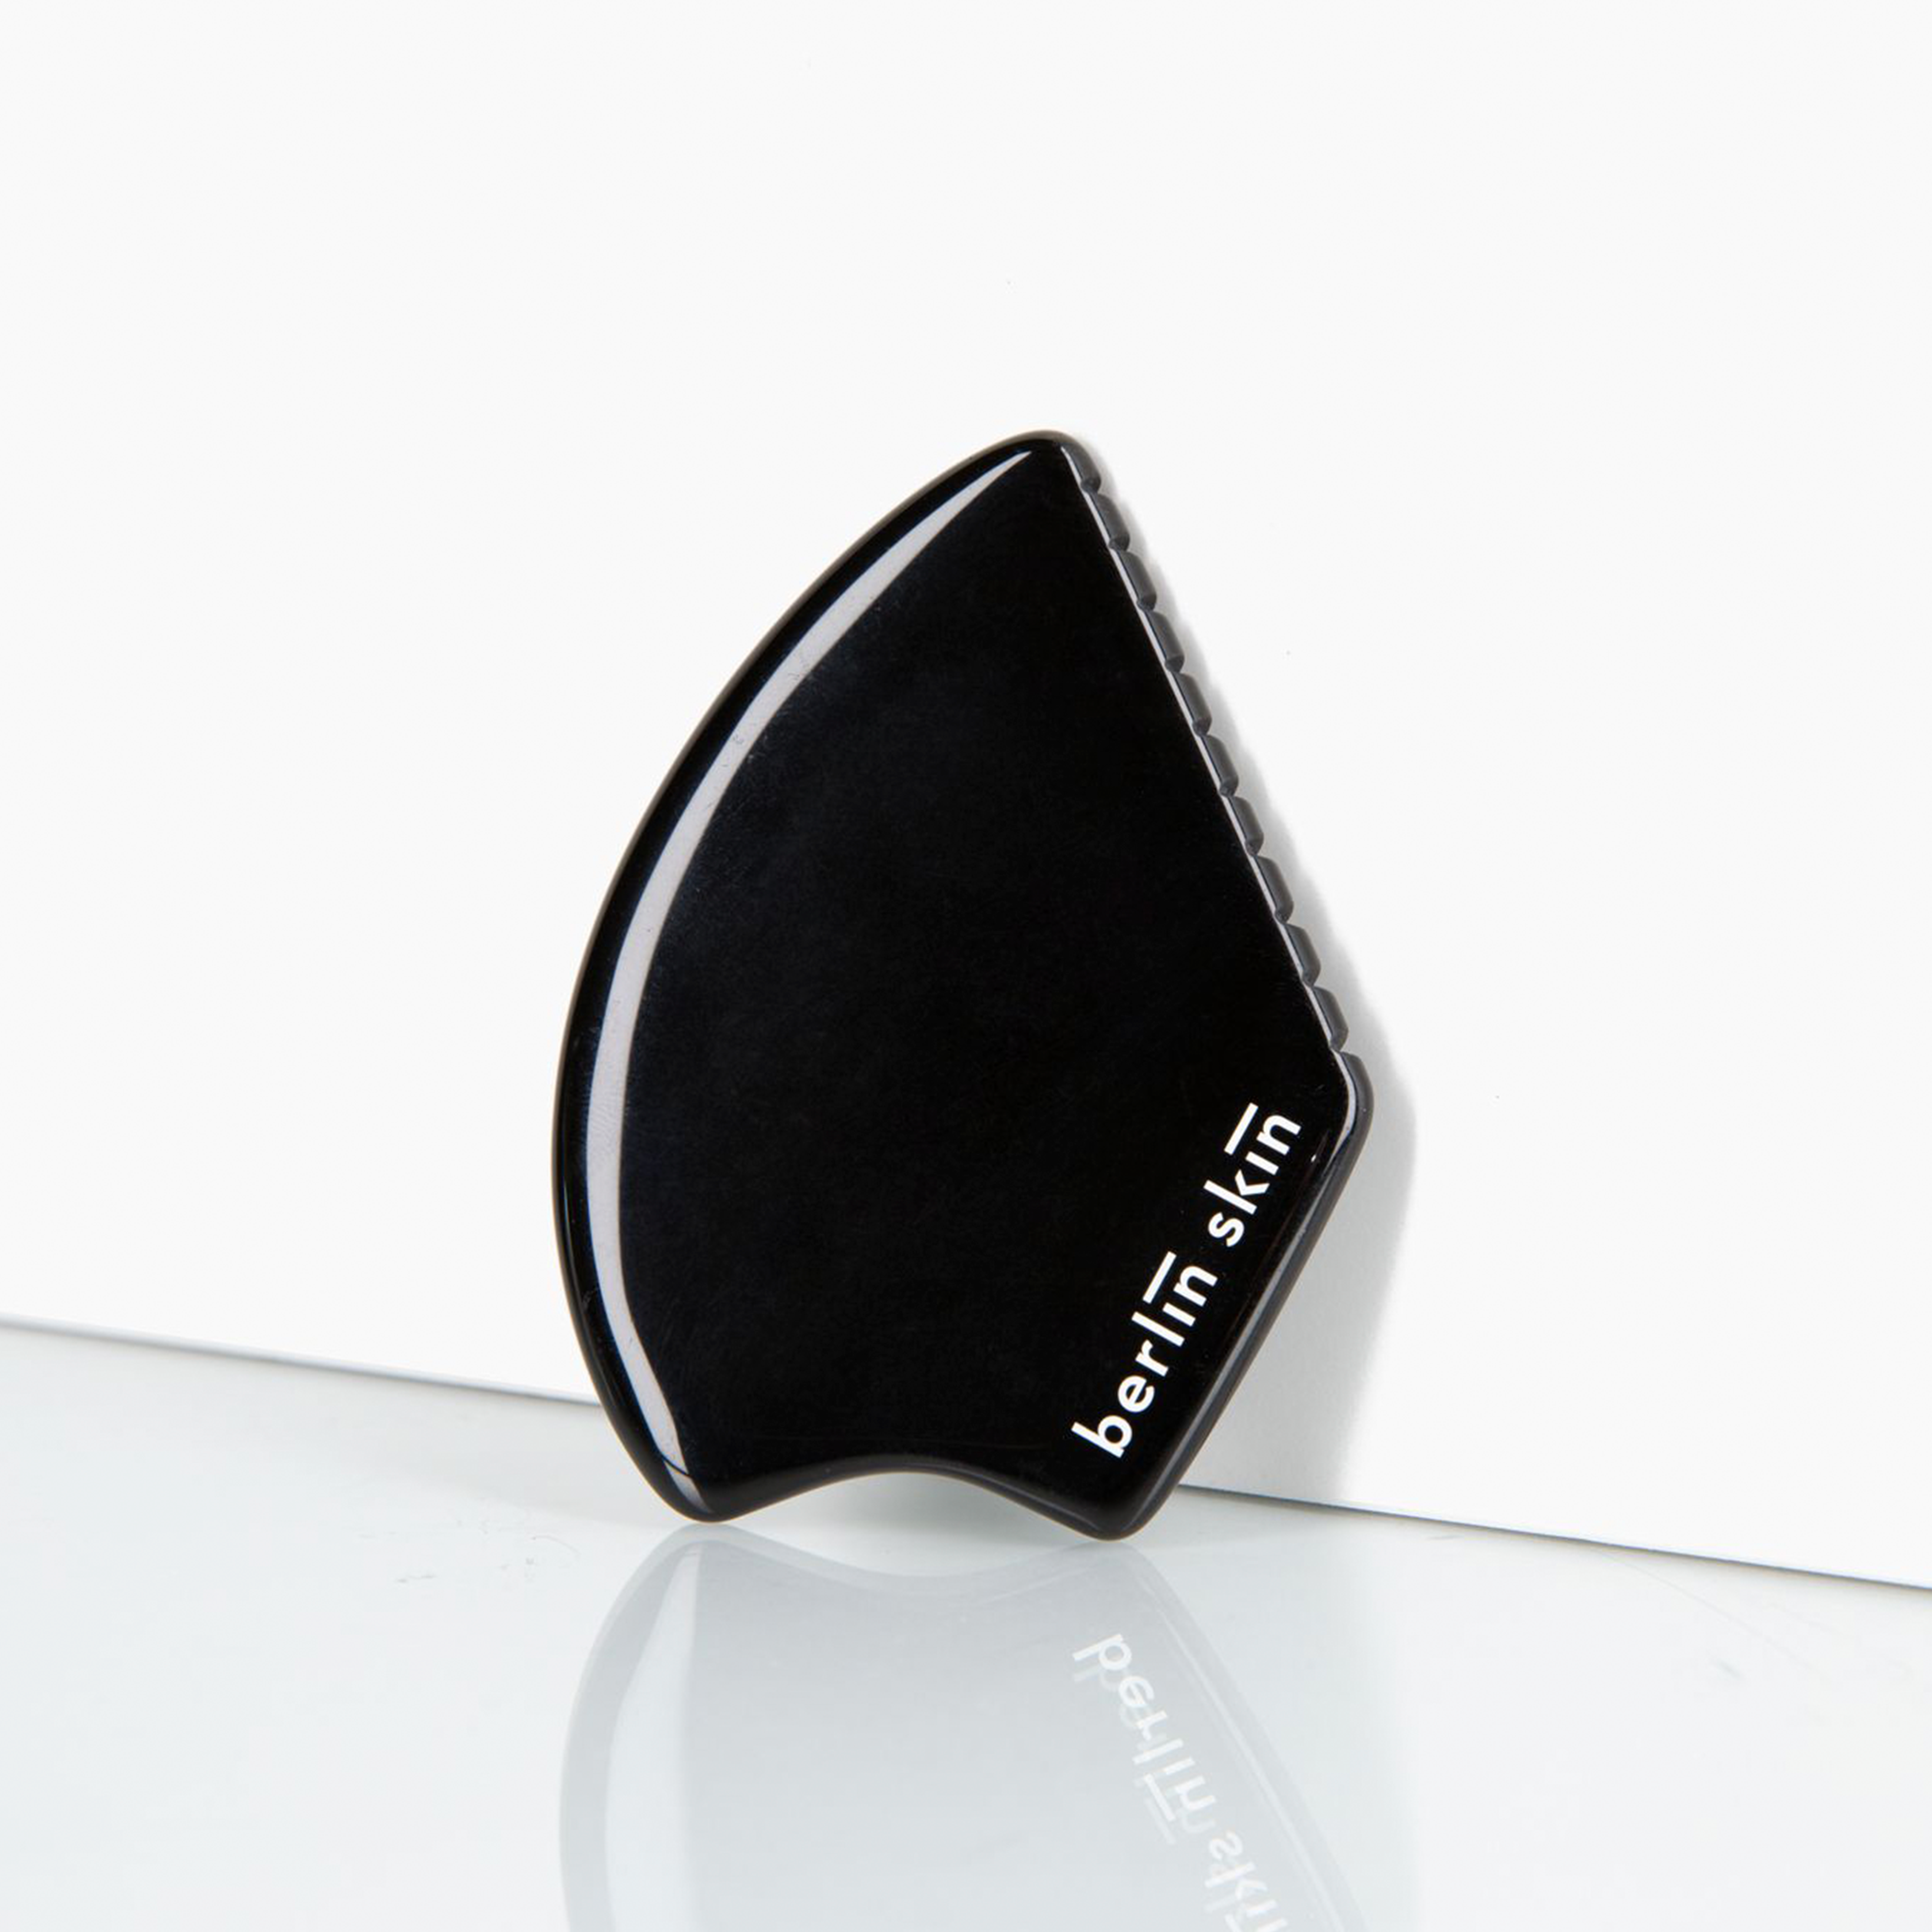
4. Using the smaller sides and grooves on the gua sha tool will allow you to focus on specific angles of your face, i.e. the under eye area, cheeks, forehead, and jawline.
5. After you've finished your series of stroke movements, start in the center of the forehead with the textured side of the tool and glide outward, making your way down the face, all the way to the base of your neck.
6. Close with taking the textured side of the gua sha tool and work your way down from the chin to the collarbone.
Extended Usage & Technique
Lift: Gliding the small, flat side of the gua sha tool across areas such as your jawline, cheek, & forehead areas; this will aid in lifting + toning the facial muscles. Maintaining a light but firm pressure, at a 30-45 degree angle is key to maintaining optimal results in every stroke.
Smooth & Soften: Using one hand, anchor 2-3 fingers at the base of your chin. You will then hold the skin taught and glide the textured side of the gua sha tool in upward/outward motions across the cheek area, ending near the middle of your ear. This movement will aid in smoothing out and softening fine lines and wrinkles. You can repeat this process on the neck and forehead area as well.
Sculpt & Alleviate: Using the groove of the gua sha tool on areas such as the under eye, eyebrow, & cheek will provide a sculpted appearance while alleviating puffiness. Maintaining the same pressure, you will anchor at the base of the area you are working on, guiding your tool with the other hand in an outward/sweeping motion.
Bonus Tips
Applying a generous amount of Prickly Pear Face Oil or Black Spruce Body Oil before using the gua sha tool will provide a seamless glide.
Maintaining a light but firm pressure at a 30-45 degree angle with every movement and stroke will provide optimal results.